

If you are deciding where to put a new plan or model, it helps to distinguish the module, the portlet and the workspace. Here is how we use them in the examples on this blog.
The Future Matrix was created by Julio Graham, who operates Olive Professional Services.
Which part are you working with?
A module is a type of tool, such as Gantt, Conceptual Map or The Future Matrix. A portlet is an instance of that tool with its own title, configuration and working content. A workspace is a collection of portlets that you want to use together.
For example, Harbour Services · 90-day pilot is a Gantt portlet. Another team can use a separate Gantt portlet for its own plan. Both use the same module, while keeping their content separate.
Set up a small workspace
Start by checking whether the portlets you need already exist. Reusing the right portlet keeps everyone working on the same saved content. Creating a new portlet is useful when the work needs its own data or audience.
- On the CEP home page, switch to Workspaces view and choose New Workspace, or use Add Workspace.
- Give the workspace a name that describes the work, such as Onboarding pilot.
- Add the relevant portlets to the workspace. Use Add Portlet to create a new tool instance when you have permission.
- Add a short note to explain what each portlet is for. Open the cards and check that they contain the intended model or plan.
Example: the onboarding pilot
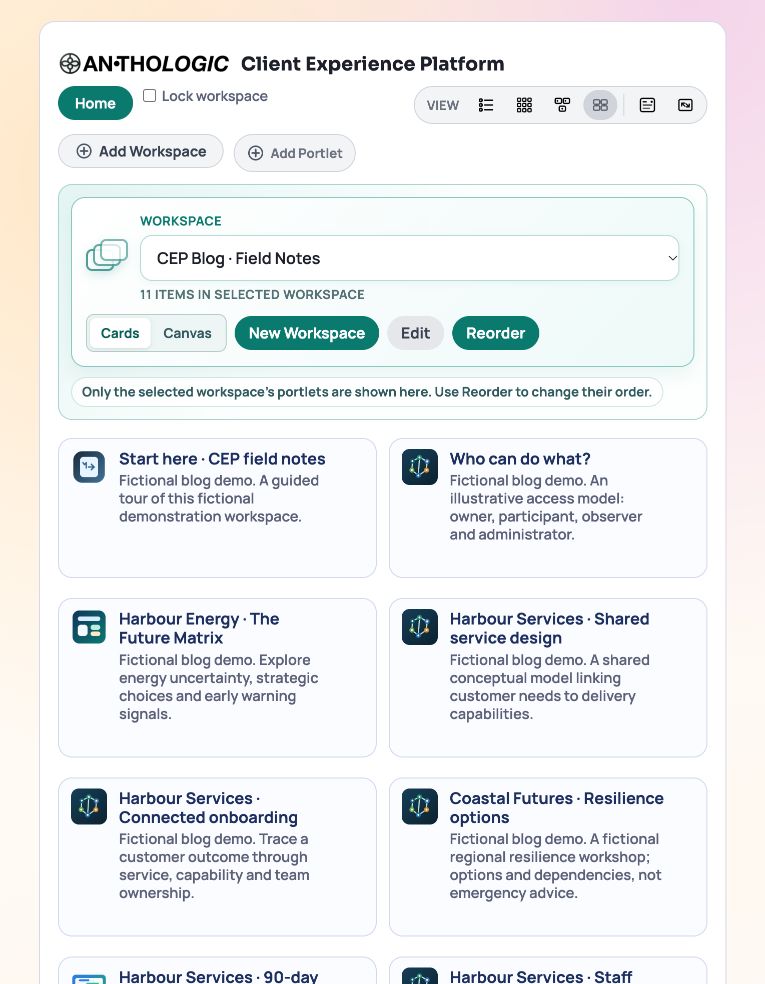
The demo workspace keeps a context note, a shared service model, an onboarding graph and a Gantt plan together. Use the context note to record the question being investigated. Use the model for the service relationships, and the plan for tasks, owners and dependencies.
Those portlets do different jobs. You can open the shared model during a workshop and return to the plan when agreeing the follow-up tasks. You do not need a new workspace for every meeting.
Check access separately
Adding a portlet to a workspace does not grant access to its content. If someone can see a card but cannot open the portlet, ask its owner to check sharing. The next post explains the participation and access options.
The screenshots use the private CEP Blog · Field Notes workspace. Use the same arrangement with your own permitted portlets, or follow the downloadable examples where provided.
Try it in your workspace
Open one of your workspaces and check that each card points to the intended shared portlet. Add a note where its purpose is unclear.
Demo notes and files
The screenshots use the private CEP Blog · Field Notes workspace. The notes below identify the example portlets and downloadable files. Use your own permitted portlets to follow the steps.
See the demo notes ↗This is part of an editorial retrospective. The archive date is not a feature release date; descriptions and screenshots reflect the November 2026 local demonstration. The examples are fictional.